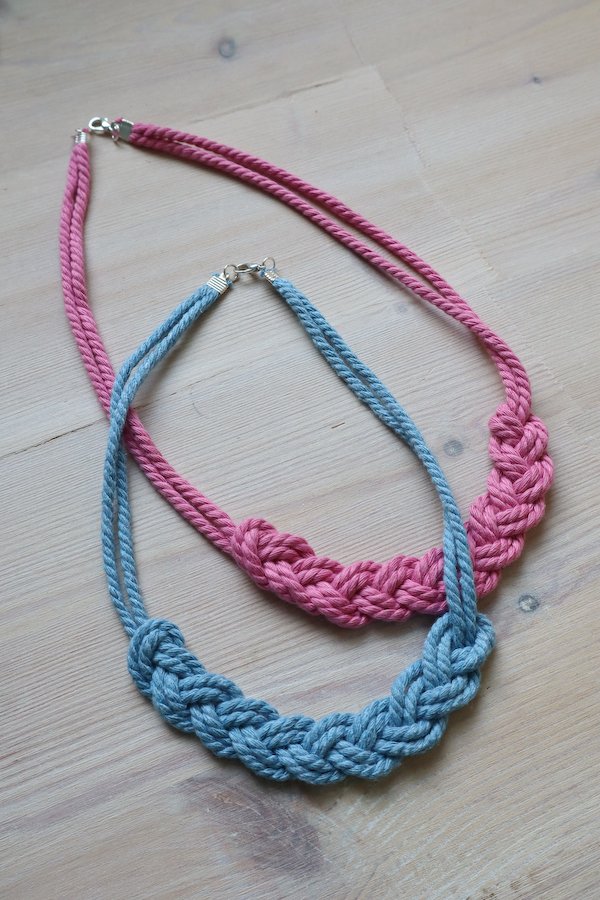
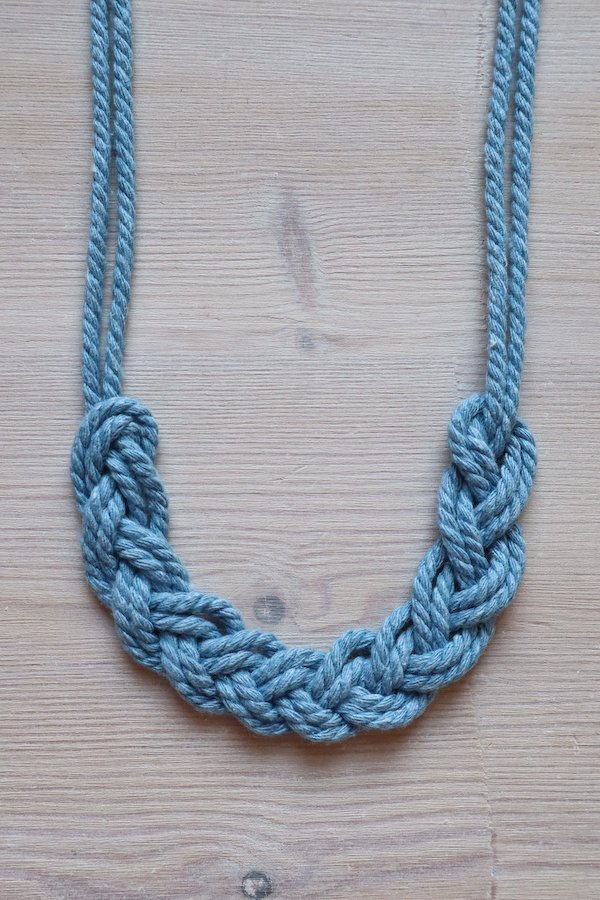
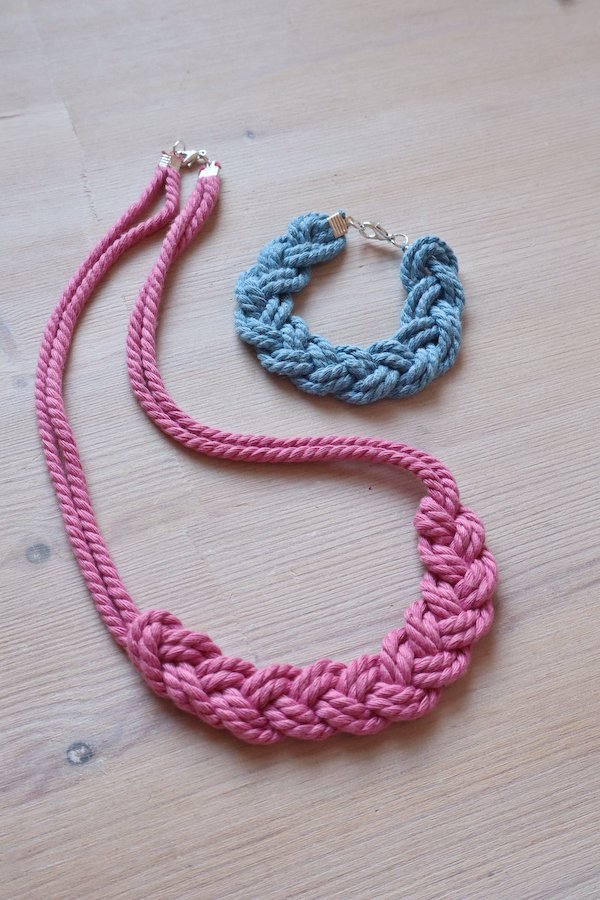
If you’re looking for a macramé jewelry project that looks intricate but is surprisingly simple, this Macramé Braid Necklace is perfect. The beauty of this design is that it only uses one piece of cord—not three separate strands—to create a gorgeous braid. By doubling the cord, you get a plump, elegant plait that looks like something from a boutique.
Never tried macramé before? If you can make a basic three-strand braid (like braiding hair), you can make this necklace! And if necklaces aren’t your style, you can easily adapt this design into a bracelet.
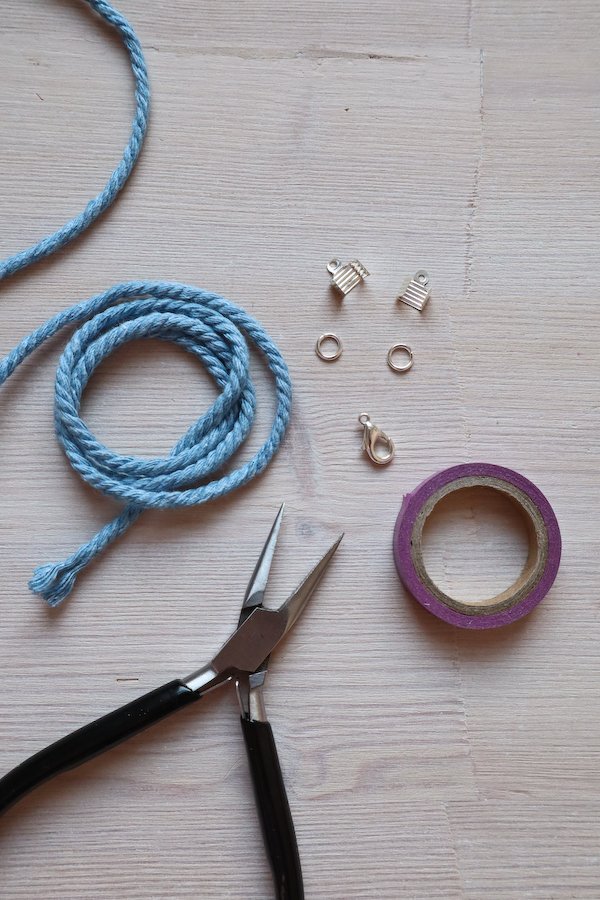
Materials You’ll Need
- Cord: 2 metres (about 2.2 yards) of 4mm 3-ply cotton macramé cord – I’m using Light Blue and Rose Pink
- Washi, masking, or painter’s tape
- Tape measure
- Scissors
- 2 × 7mm fold-over ends, two jump rings, and one clasp
- Pliers
How to Make a Macramé Braid Necklace
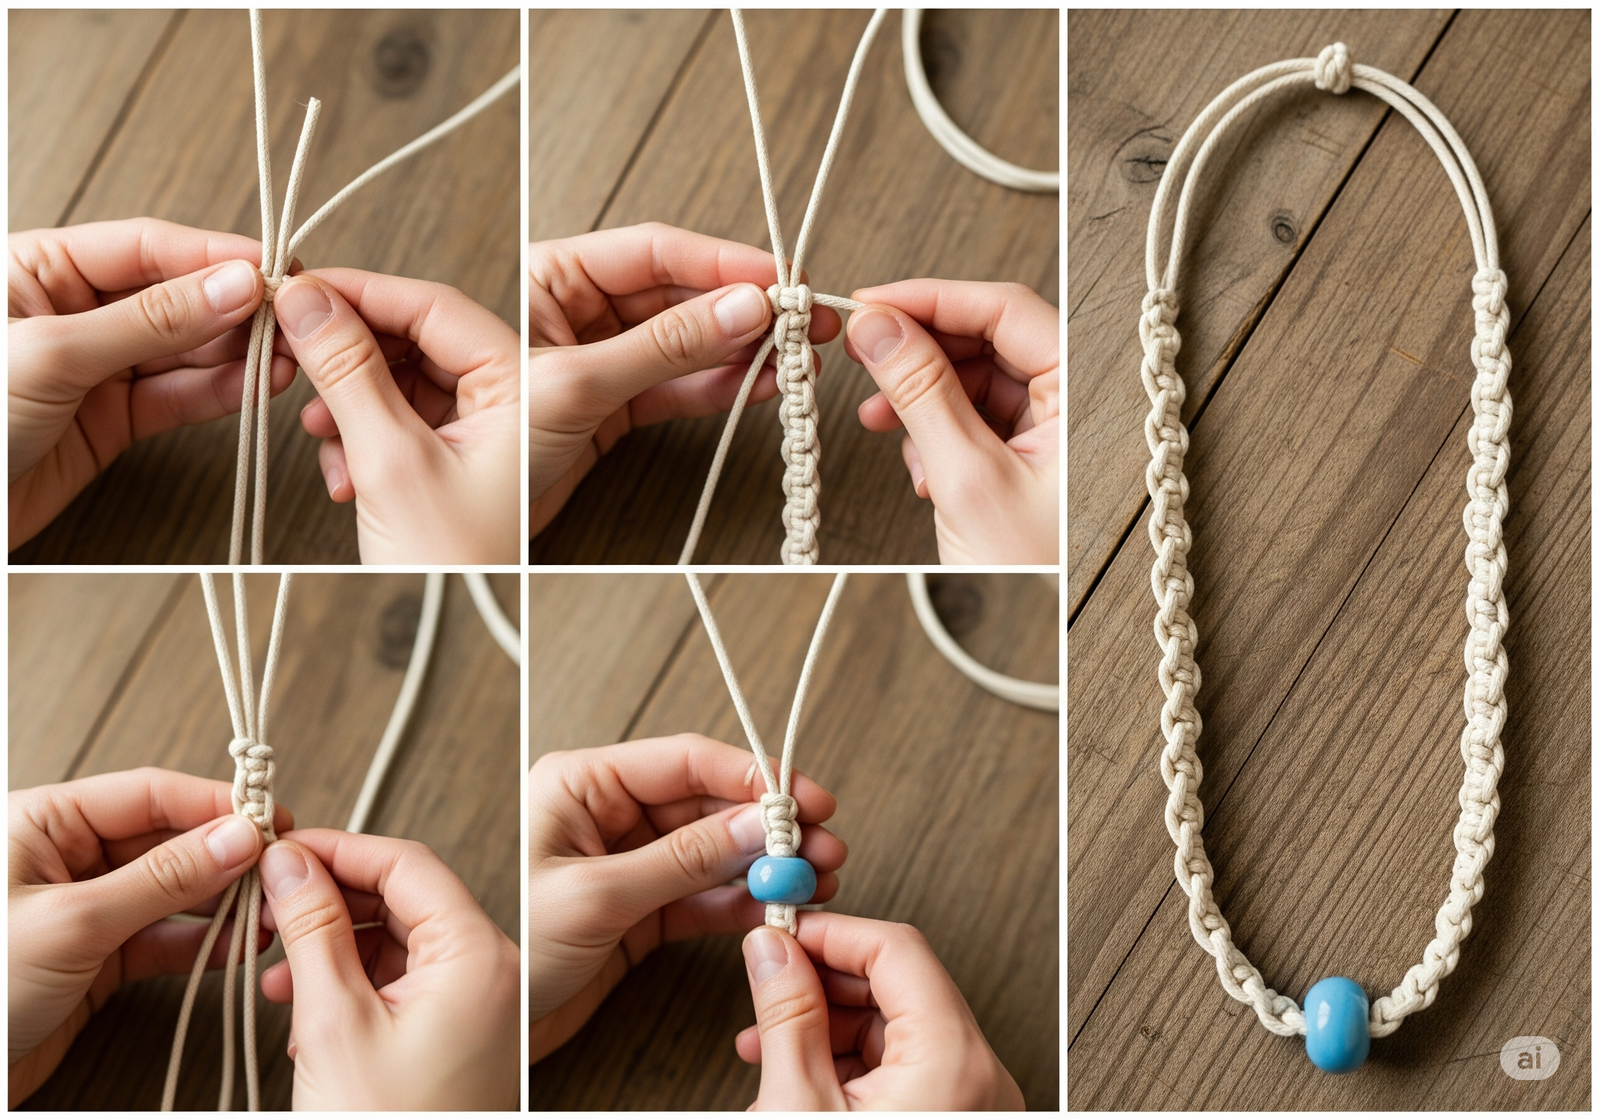
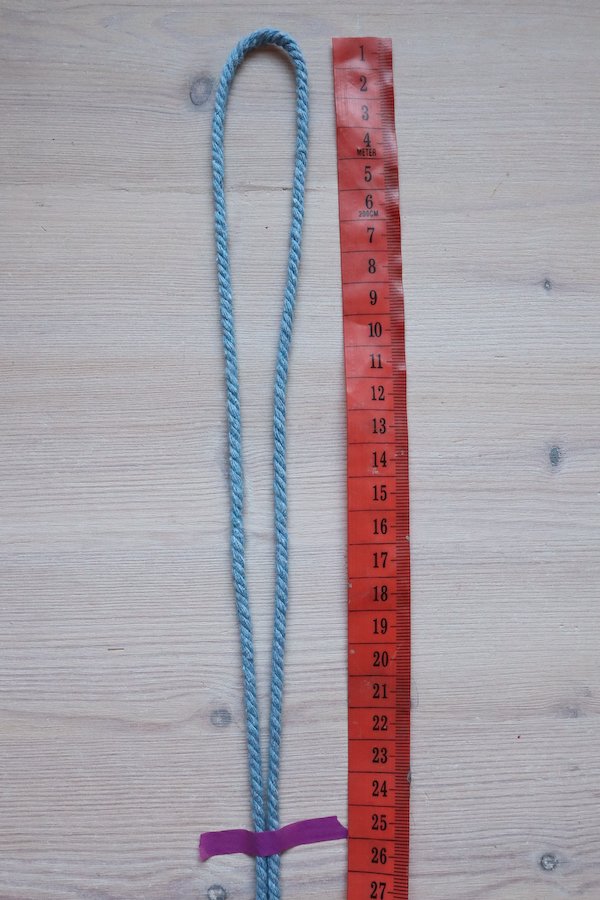
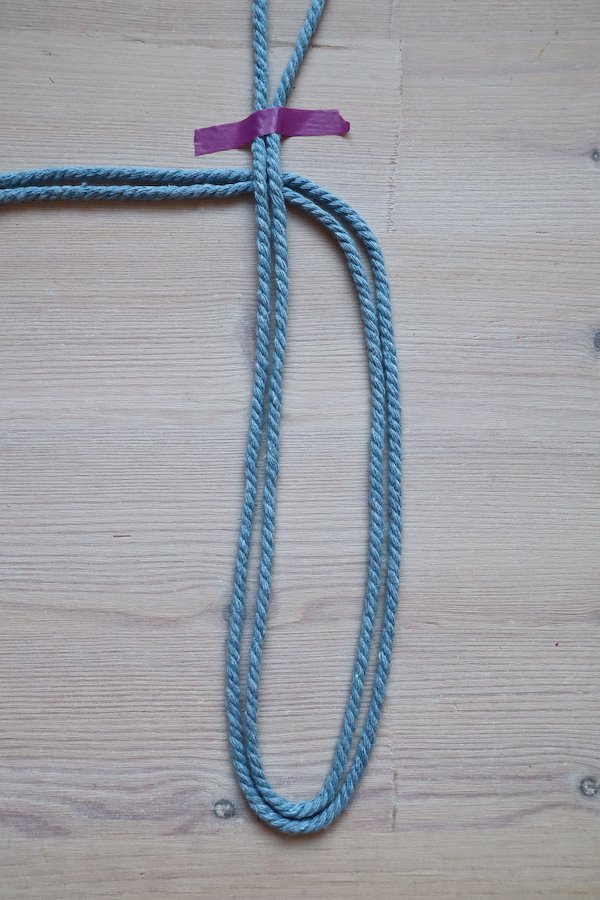
1. Cut and prepare your cord.
Cut a 2-metre length of macramé cord and fold it in half. Secure it to your work surface with tape, leaving about 25cm (10″) above the tape for the necklace ends.
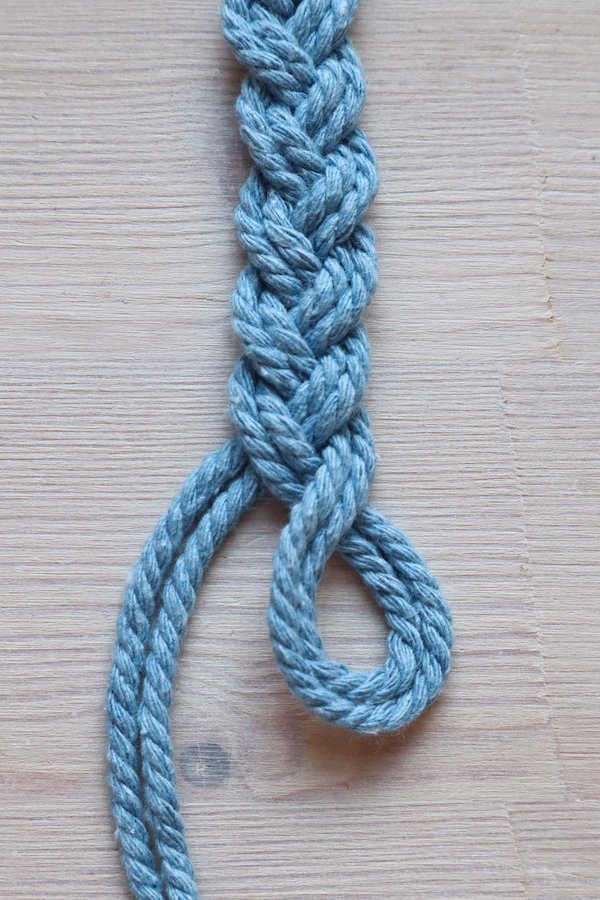
2. Create your starting loop.
Bring the long end of the cord up on the right side and pass it under itself just below the tape.
3. Cross over and loop.
Take that same end, bring it back to the right, and pass it down through the loop you’ve made. The long end should now be on the right.
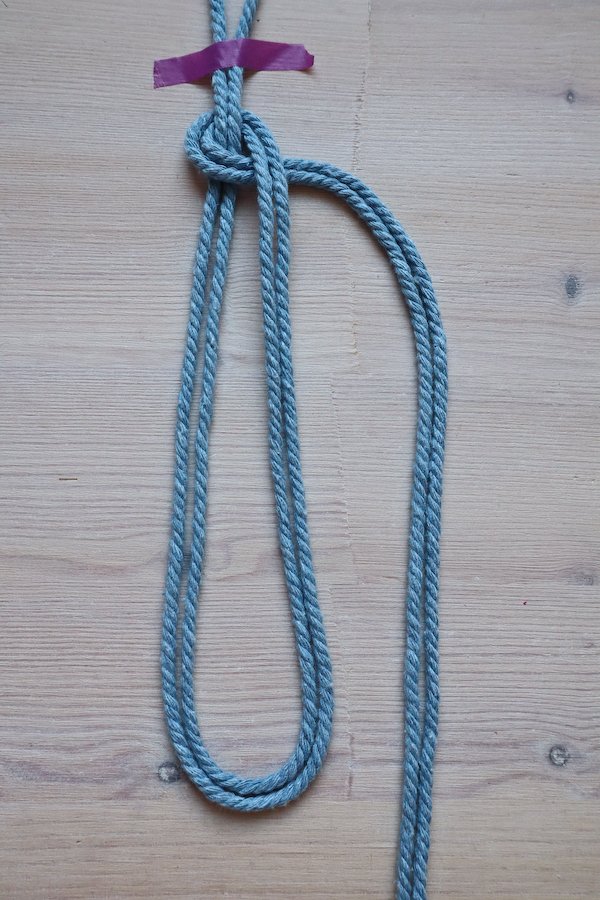
4. Form three strands.
You now have three “strands” to work with—just like a traditional braid. Bring the left cord into the middle.

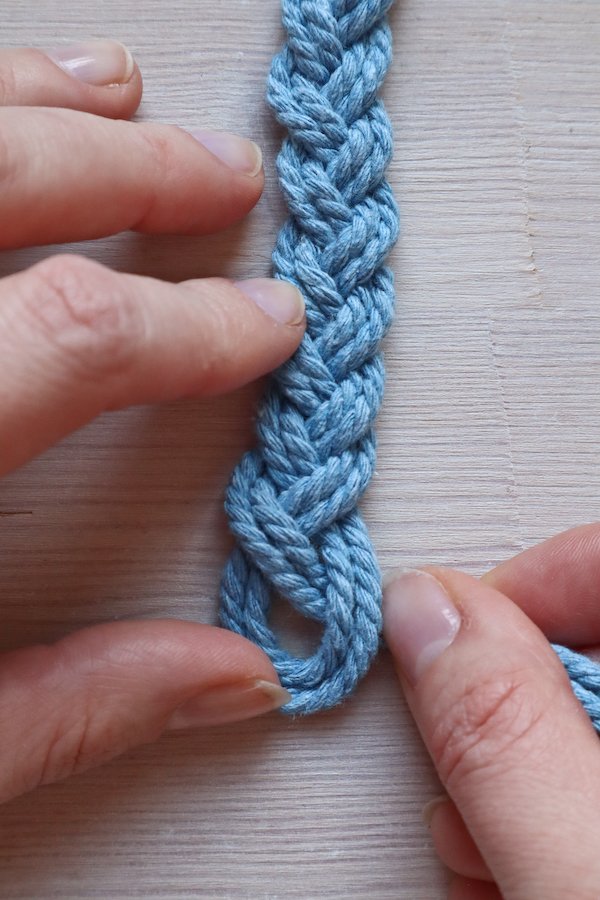
5. Repeat on the right.
Bring the right cord into the middle, keeping your doubled cords flat and untwisted.
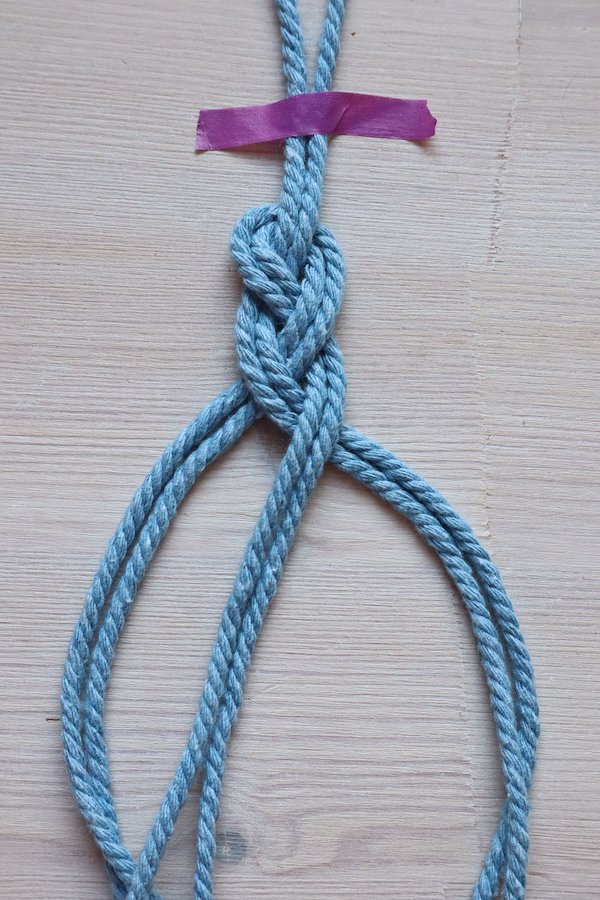
6. Keep it tidy.
As you braid, the cords may tangle. Pull the long tail through the loop made by the other two cords, and keep a finger on the braid to maintain its shape.
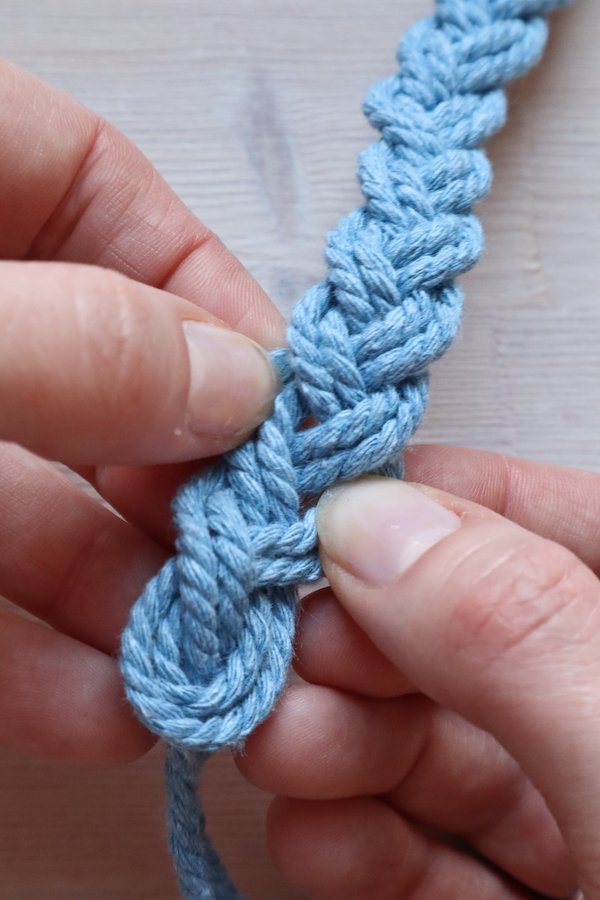
7. Pick it up if you prefer.
If you’re used to braiding hair, you might find it easier to hold the work in your hands rather than keeping it taped down.
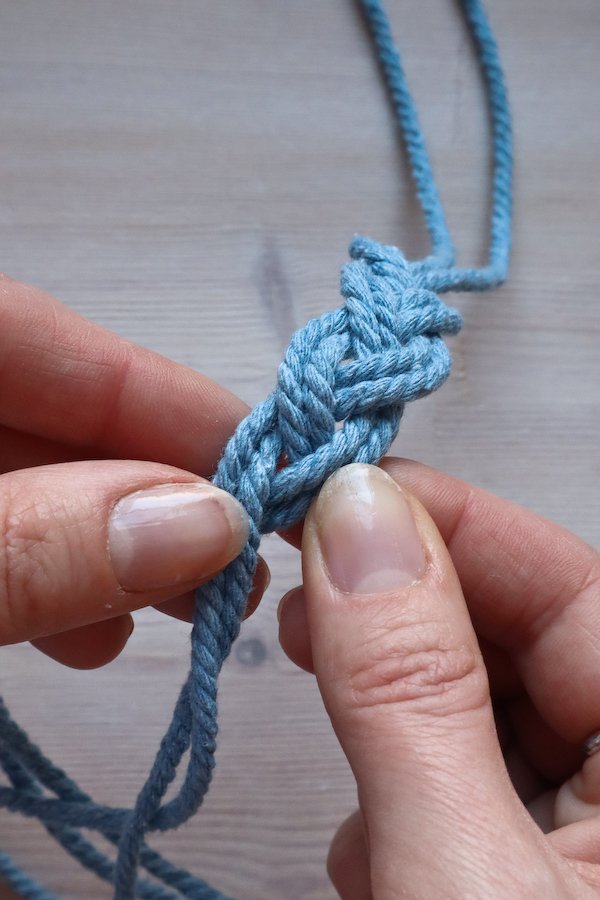
8. Continue braiding.
Alternate left-to-middle and right-to-middle until you reach the end.
9. Finish the braid.
The last move should be bringing the long end into the middle, which will now form a small loop. Leave a little slack—don’t pull too tight.
10. Adjust and shape.
Work your way back up the braid, gently pulling the sections apart to even them out. Curve the braid slightly and check for twists.
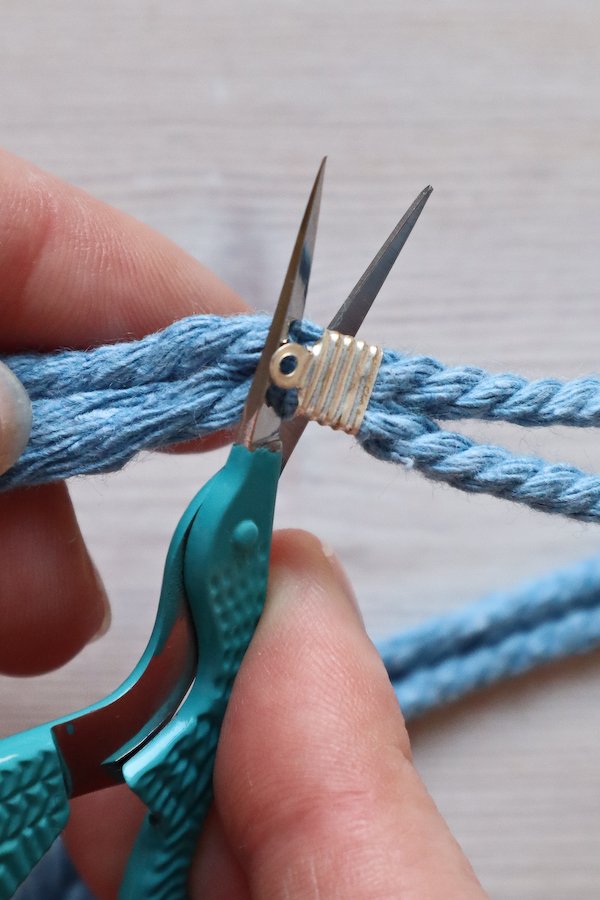
11. Measure and trim.
Your braid should be around 13cm (5″). You’ll have about 20–25cm (8–10″) of loose cord on each side. I trimmed mine to 15cm each for a finished necklace length of 45cm (18″).
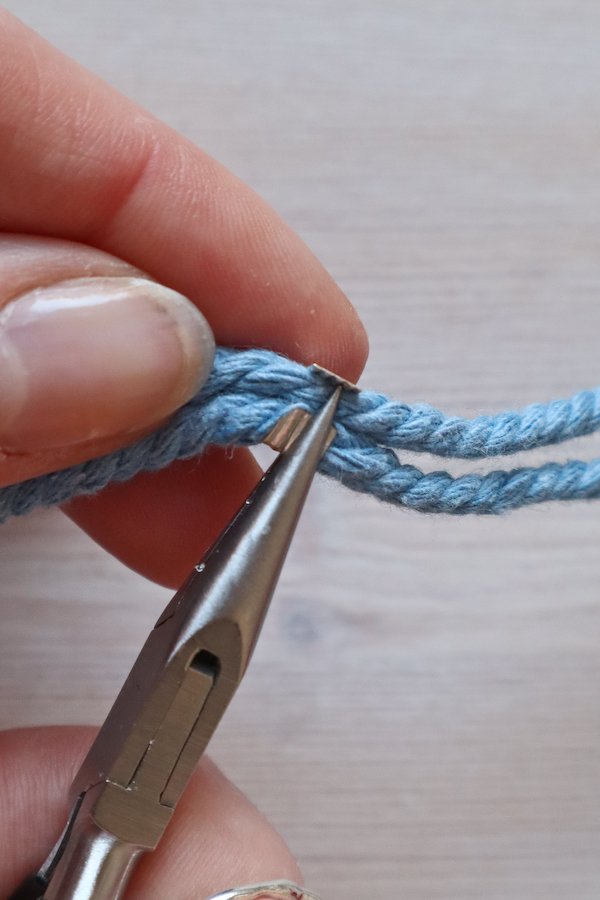
12. Add clasp ends.
Attach a fold-over end to each side of the cord, folding one flap down, then the other, and clamping firmly with pliers.
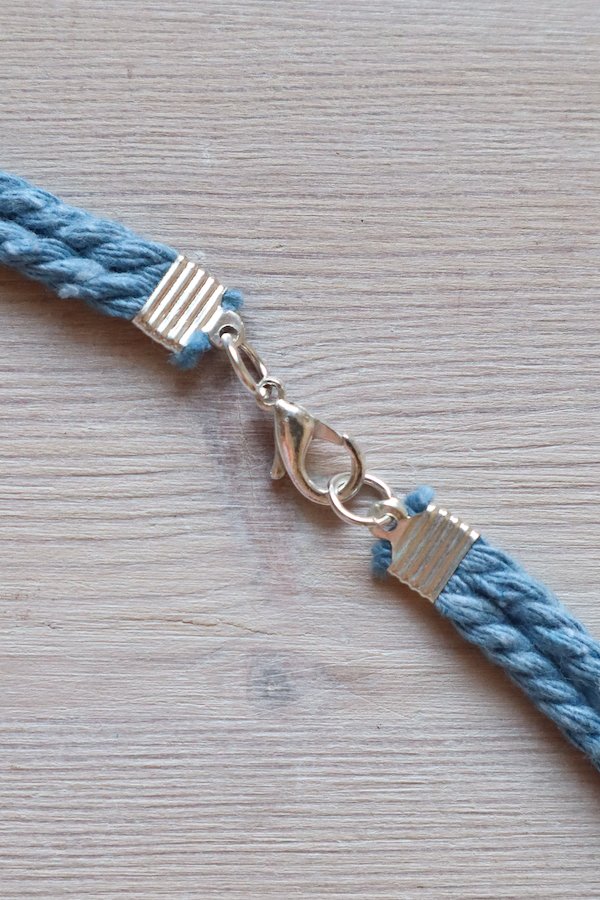
13. Attach the clasp.
Use a jump ring to attach the clasp on one end, and another jump ring on the opposite side for closure.
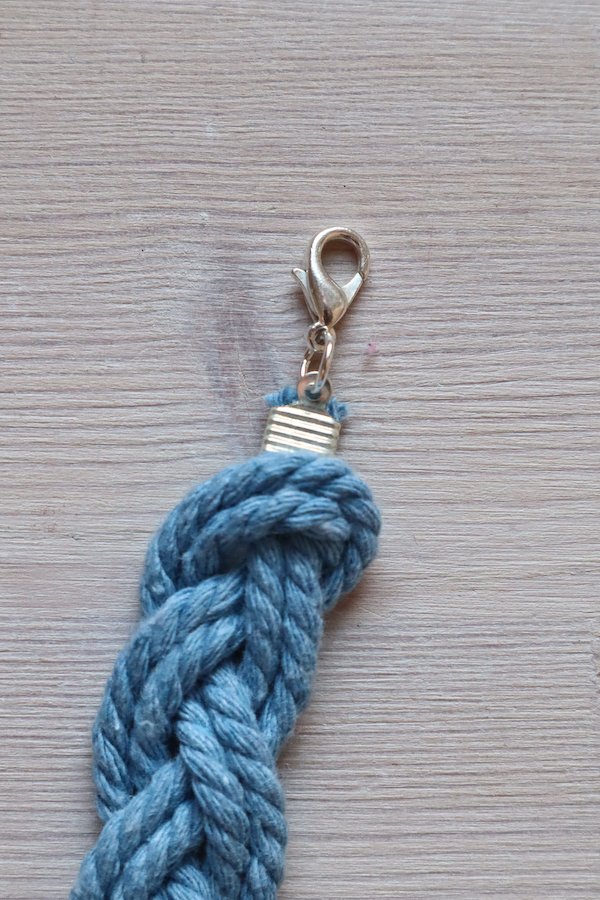
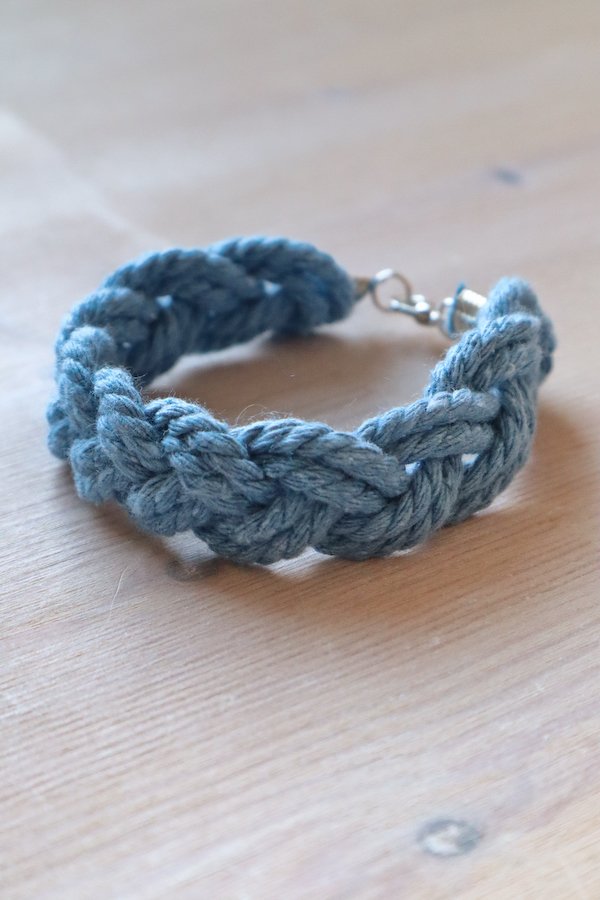
14. Bracelet option.
To make this design into a bracelet, attach the fold-over ends directly at the end of your braid.
Tips for Success
- Keep the doubled cords flat as you braid for a smooth, professional finish.
- If your braid starts twisting, pause and straighten your cords before continuing.
- Mix two different cord colors for a striking two-tone design.
Why You’ll Love This Project
This DIY macramé braid necklace is:
- Beginner-friendly – no advanced knots required.
- Quick to make – under an hour from start to finish.
- Versatile – wear as a necklace or make a matching bracelet.
- Customizable – choose your favorite cord colors and clasp style.
If you enjoyed this macramé necklace tutorial, share it with a fellow crafter or post your creation on social media and tag me! For more jewelry-making ideas, tips, and free patterns, sign up for my newsletter,
DIY Macrame Rope Necklace Four Knots, Four Patterns – another video lesson