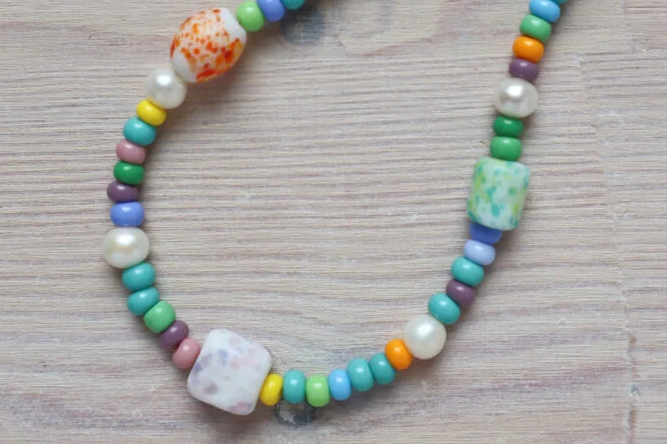
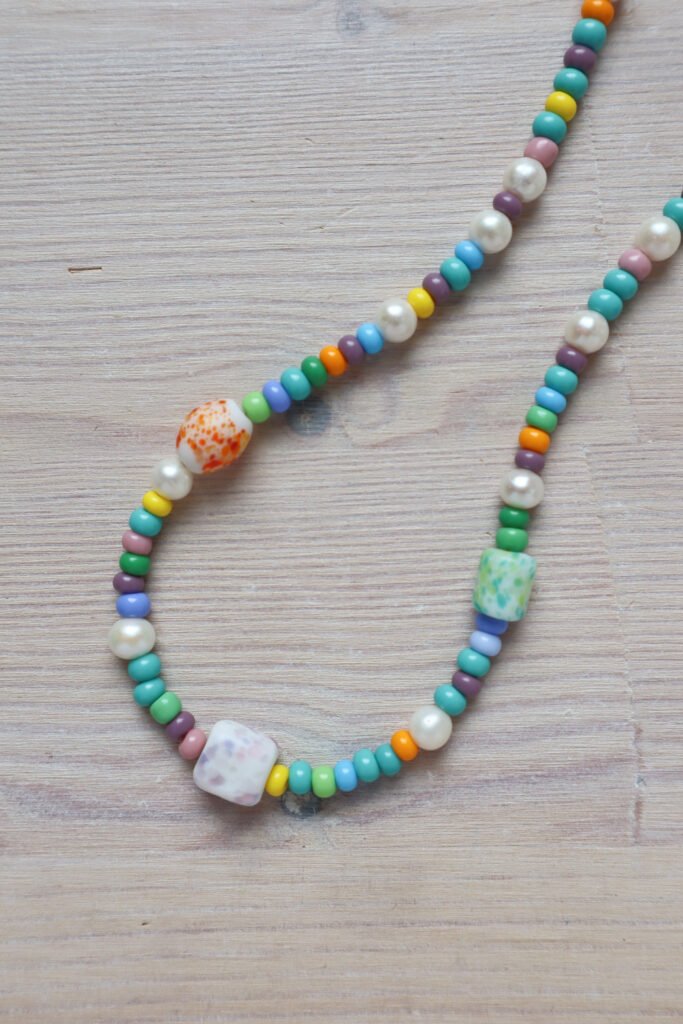
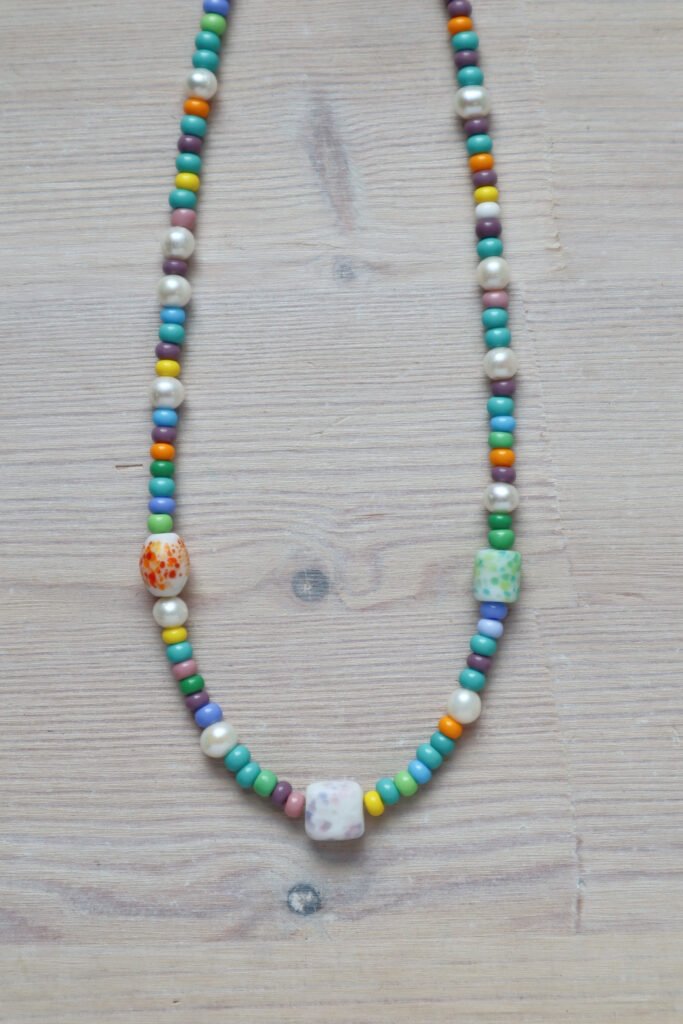
Simple beaded necklaces are everywhere right now — bright glass seed beads mixed with classic freshwater pearls are trending in boutiques, craft markets, and online shops. The best part? You can make your own in just a short afternoon — it’s fun, affordable, and completely customizable.
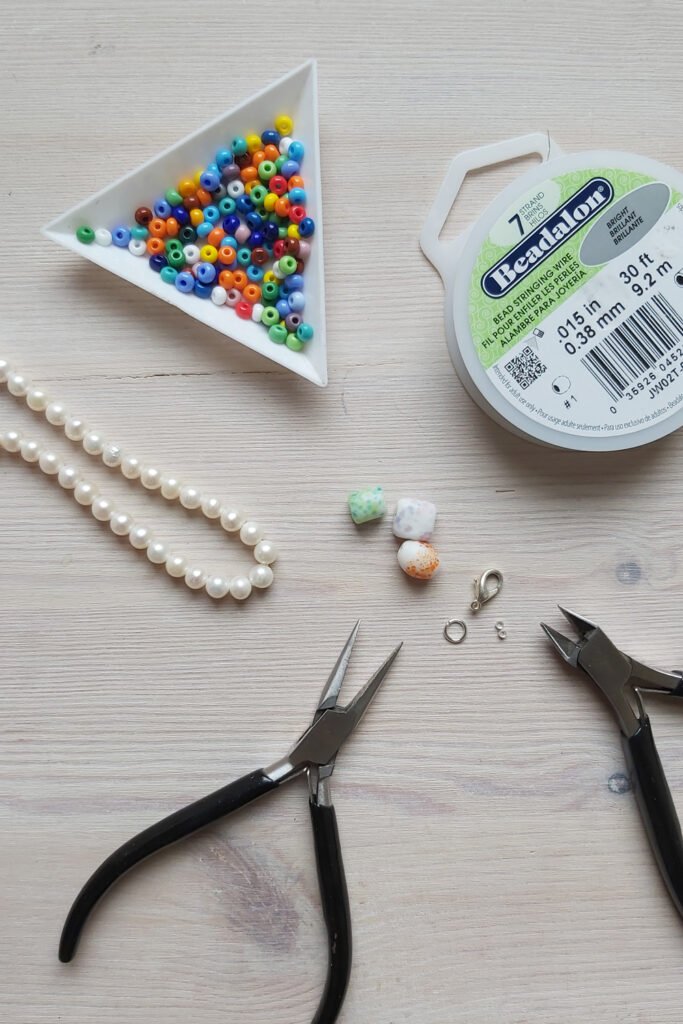
What You’ll Need:
A mix of colourful seed beads (size 5 or 6). I used an opaque mix and removed the darker beads for a lighter, fresher look.
Freshwater pearls
A few larger statement beads for the centre
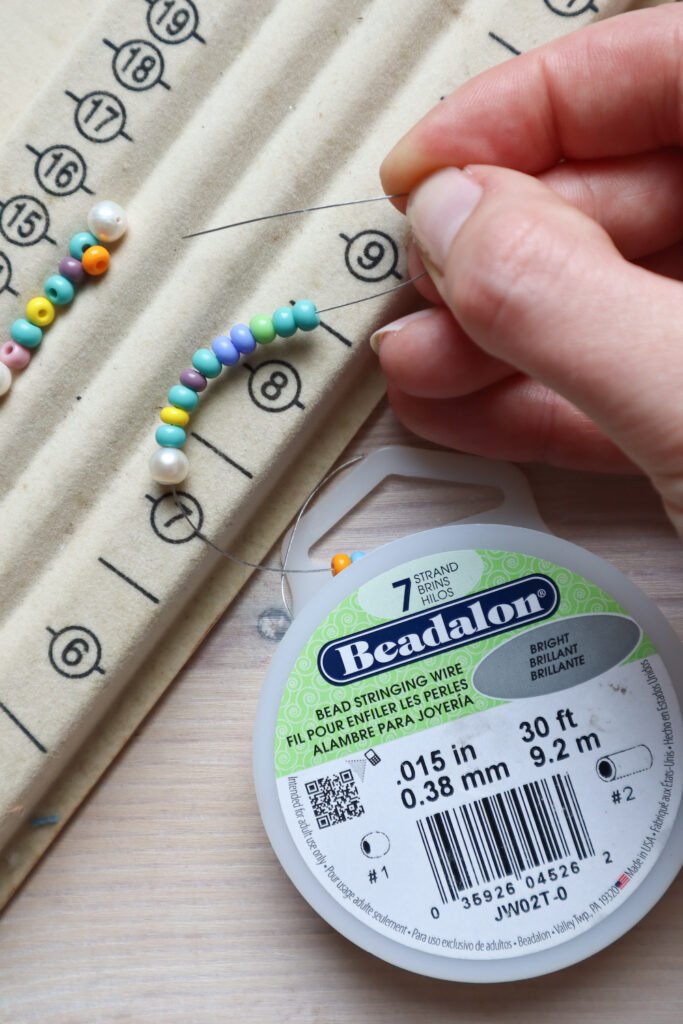
Beading wire (I recommend Beadalon 7 Strand)
Clasp, 6mm jump ring, and two crimp beads
Chain-nose jewellery pliers
Wire cutters
Optional: Beadboard (handy for measuring your design) or a tape measure
This tutorial makes a necklace about 45cm (18 inches) long, but you can easily adjust the length by adding or removing beads in Step 4. Remember: your clasp will add around 2.5cm (1 inch) to the total length.
How to make a Simple Beaded Necklace
Step-by-Step Instructions
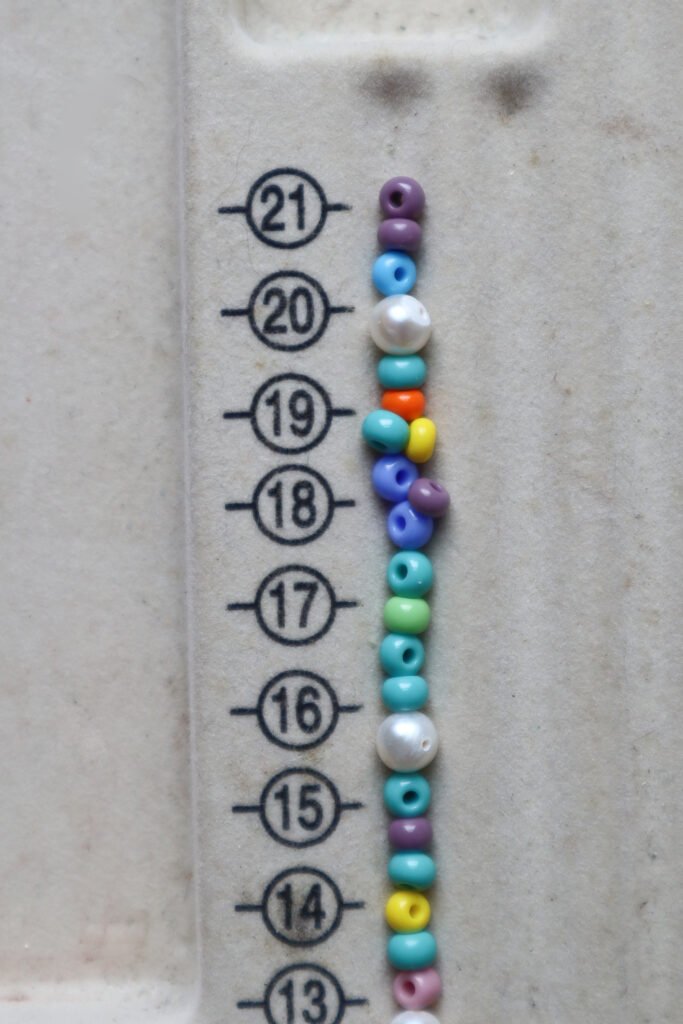
1. Plan your design
Place your seed beads along the top channel of your beadboard, adding your larger beads towards the centre. Sprinkle in some pearls for a balanced, organic look. The top channel is measured in centimetres (0cm at the centre, up to 21cm each side). If you prefer inches, use the lower channel (up to 8½ inches on each side).
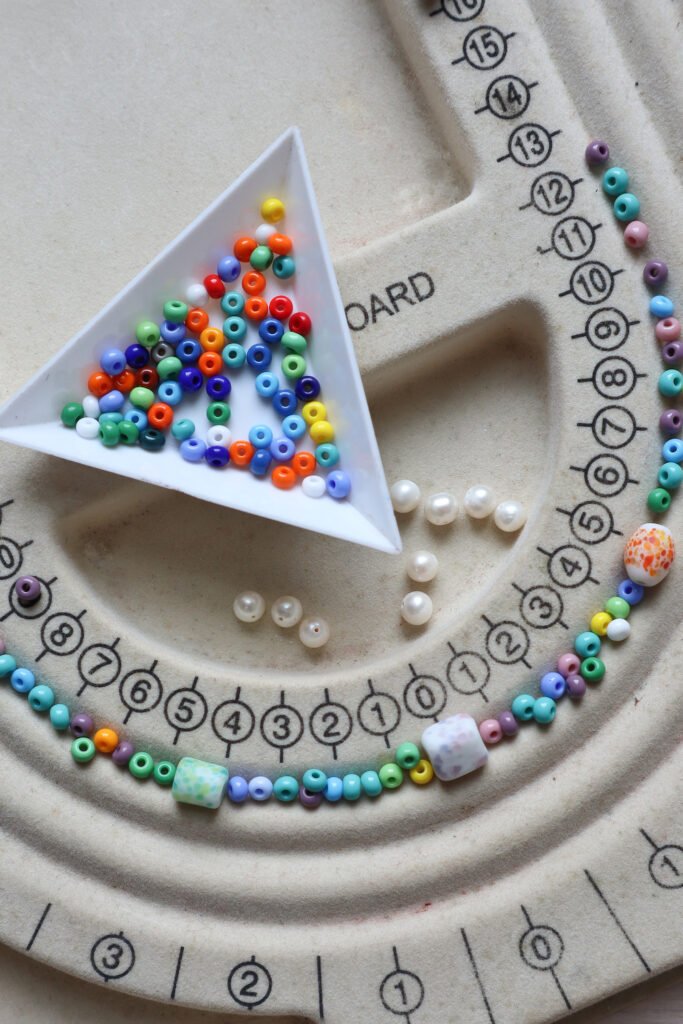
2. Fill your beadboard
Continue adding beads until you’ve reached the 21cm (or 8½ inch) mark on both sides. Keep the placement random for a more playful look, or arrange them in a repeating pattern for a polished style.
3. Thread your beads
Pull about 50cm of beading wire from the reel (but don’t cut it yet). Use the end of the wire like a needle to pick up your beads directly from the board.
4. Adjust your length
Once all your beads are threaded, lay the necklace back onto the beadboard to check the length. If it’s slightly short, add half the extra beads to one end of the wire and keep the other half aside for the other end.

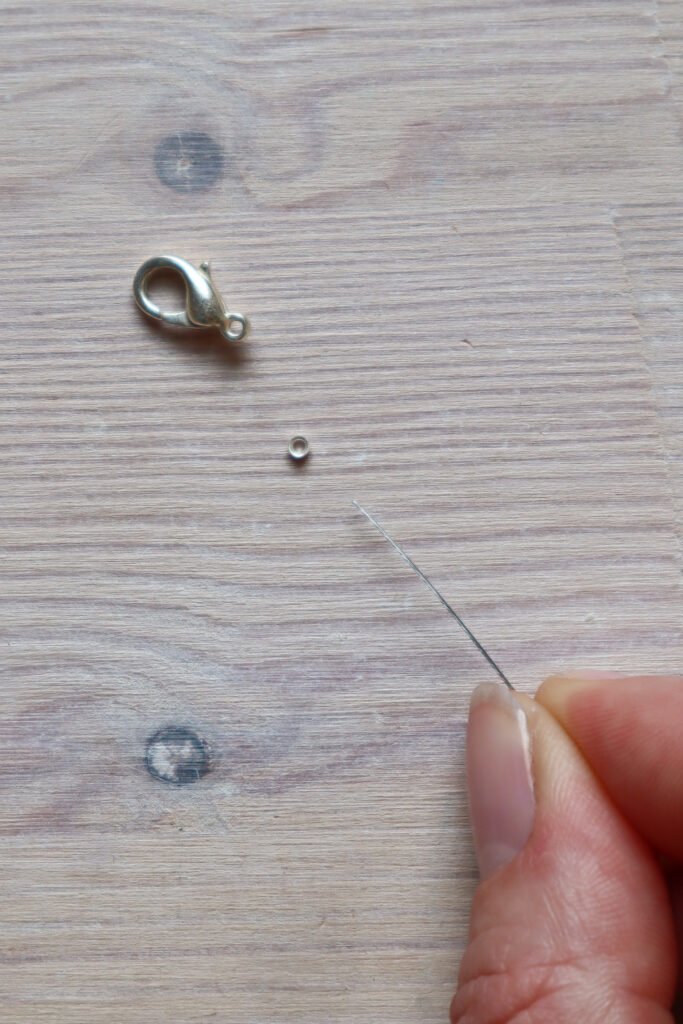
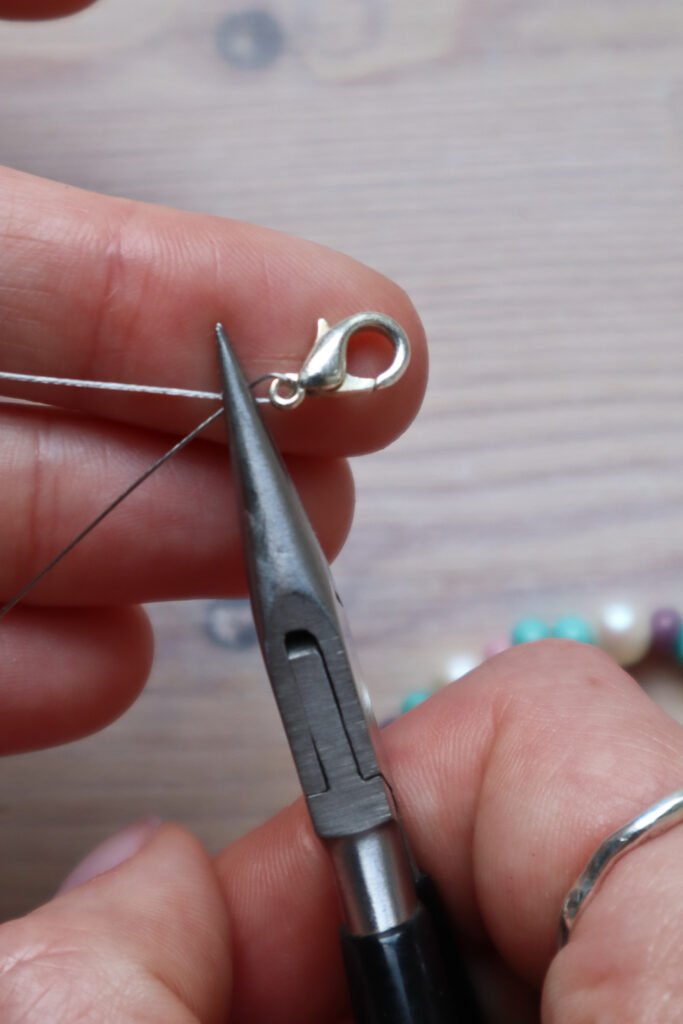
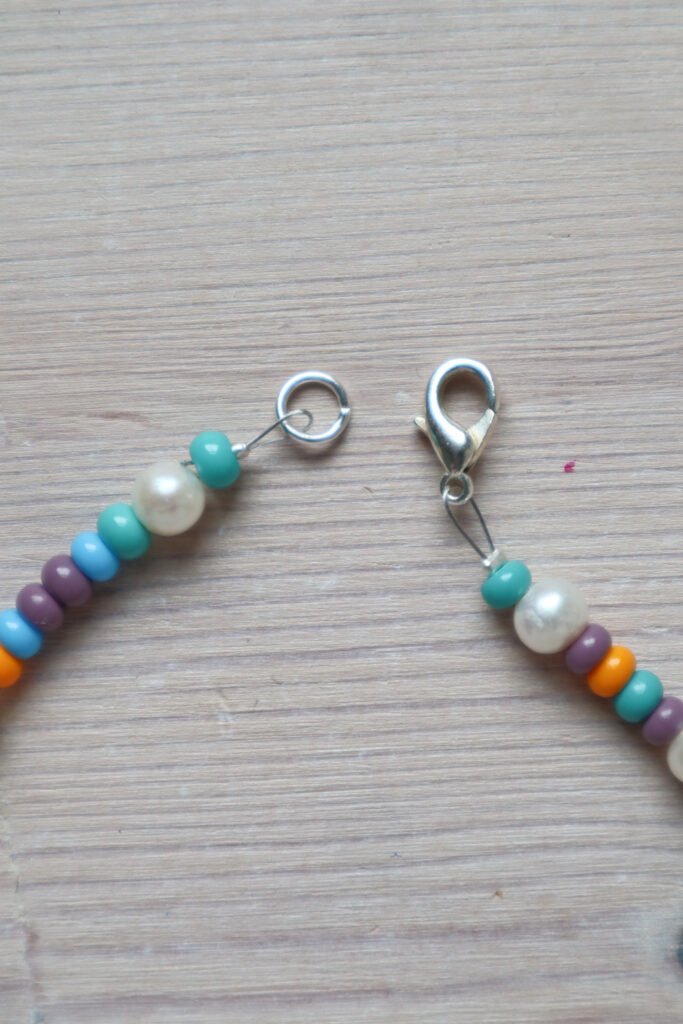
5. Attach the clasp
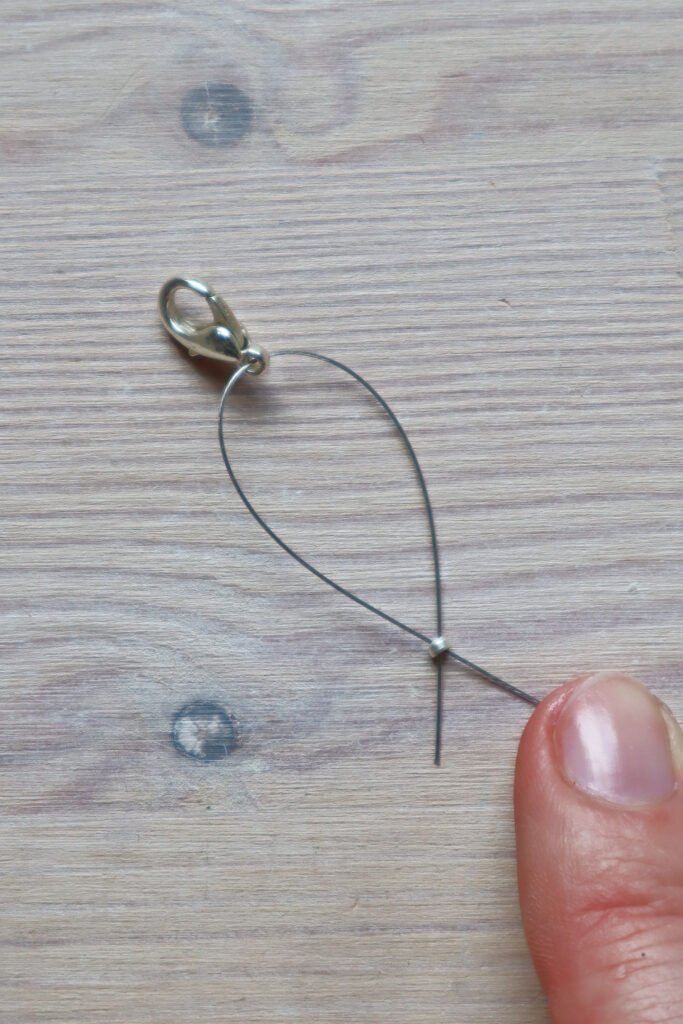
Leave about 10cm of wire free, then thread on a crimp bead followed by your clasp. Loop the wire back through the crimp bead.
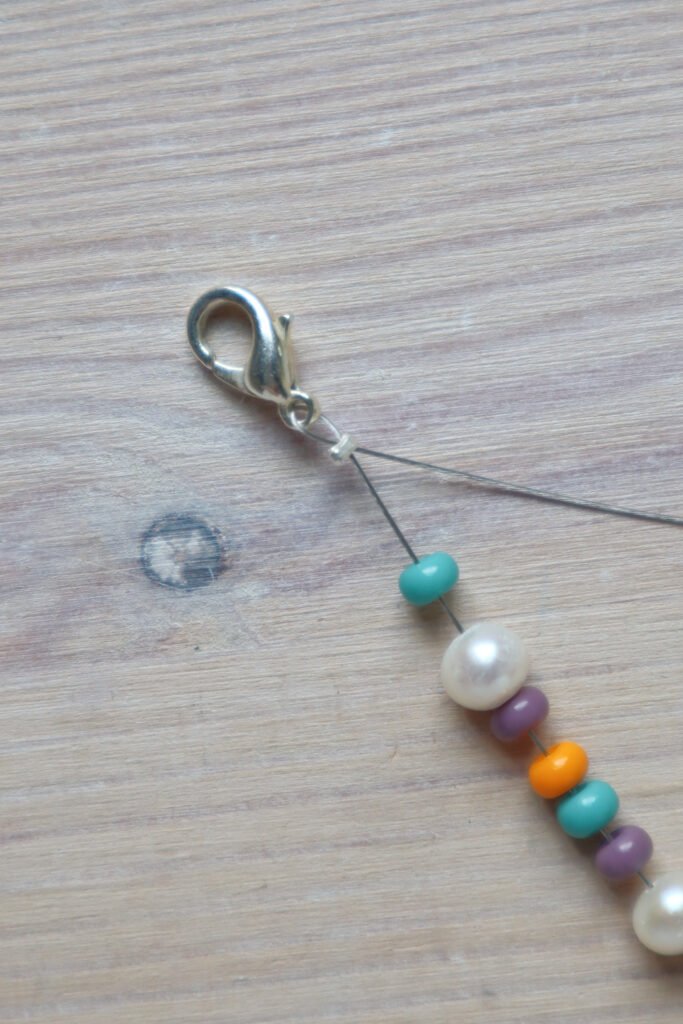
6. Secure the clasp
Tighten the loop — but not too much — so the clasp can still move. Flatten the crimp bead with your pliers to lock it in place.
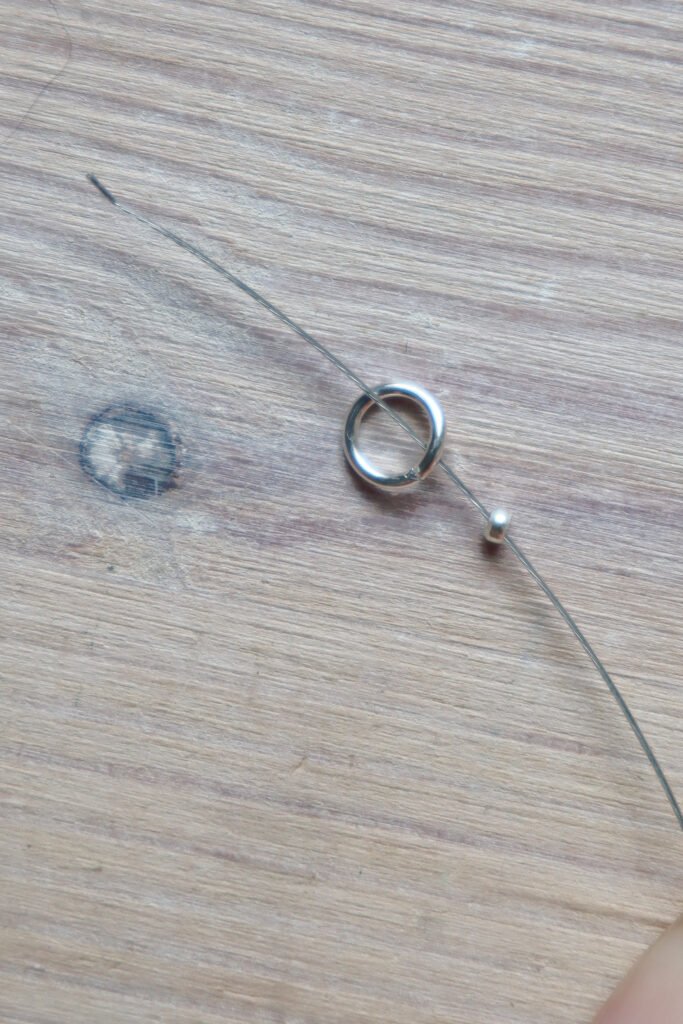
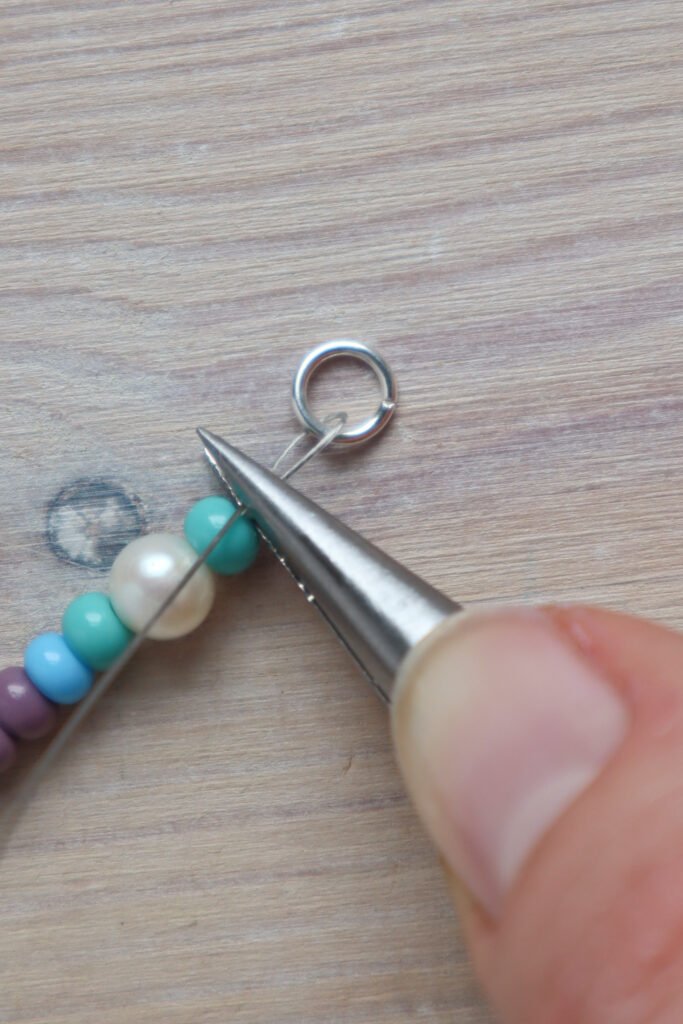
7. Finish the other end
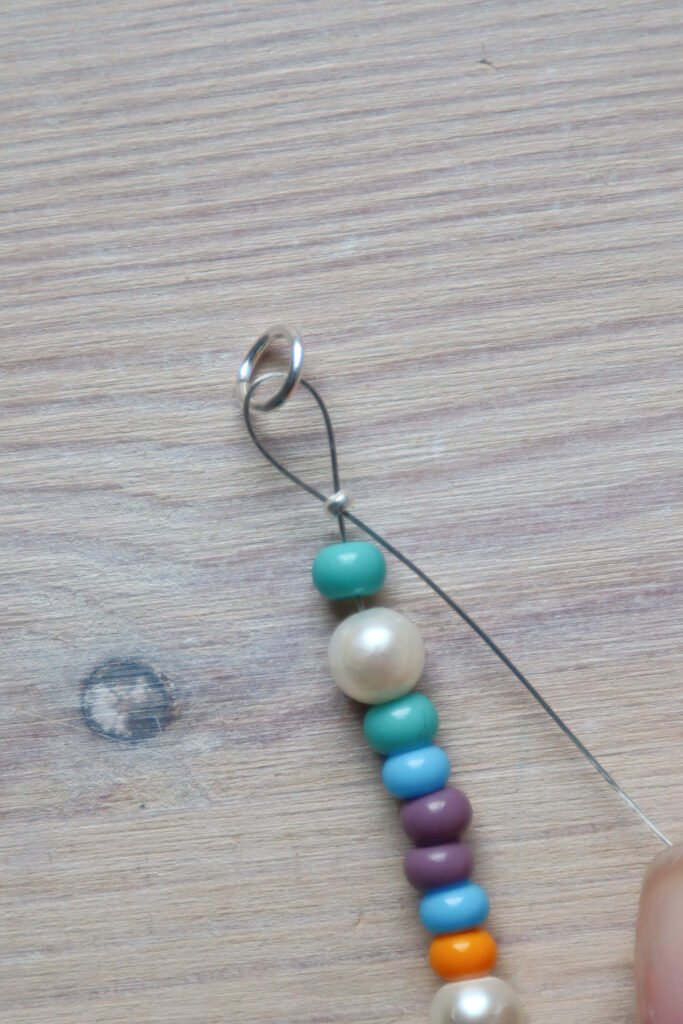
Slide your beads up to meet the crimp. Cut the wire from the reel, leaving 10cm. Add your second crimp bead and jump ring, then loop the wire back through the crimp.
8. Check and secure
Make sure the beads are snug with no gaps. Once you’re happy, flatten the crimp bead. Tuck any excess wire back into the beads or trim if necessary.
And that’s it! You’ve just made a beautiful, one-of-a-kind beaded necklace. This technique also works for bracelets and anklets — adjust the length.
If you enjoyed this tutorial, share it with your fellow makers! You can also join my monthly email newsletter, where you’ll get jewellery-making tips
If you are interested in other interesting projects – click here: How To Make A Beaded Elastic Bracelet – Easy DIY Jewelry Tutorial